Learn how to render UI from Node.js by building real applications
In this article, we will see how we can render the front-end using Node.js which is very helpful to display static or dynamic content. What are templates?Templates allow us to render dynamic content inside html enabling us to use loops, if conditions, and other features. It allows us to inject dynamic data at runtime.We can build an entire front-end using just templating in Node.js without using front-end libraries. We can generate dynamic html and save the dynamically generated content in a file. There are a variety of template libraries.
Some of the popular options are
handlebars, pug/jade, EJS etc.
We will be using express.js to handle routing and EJS(Embedded JavaScript Templates) which is a very popular library with around 6 million weekly downloads.
 One of the reasons
 EJS is so popular is because it allows writing JavaScript code directly inside the template so we can use loops, if conditions, and all things provided by JavaScript. Other template libraries use their own syntax and do not directly write JavaScript.
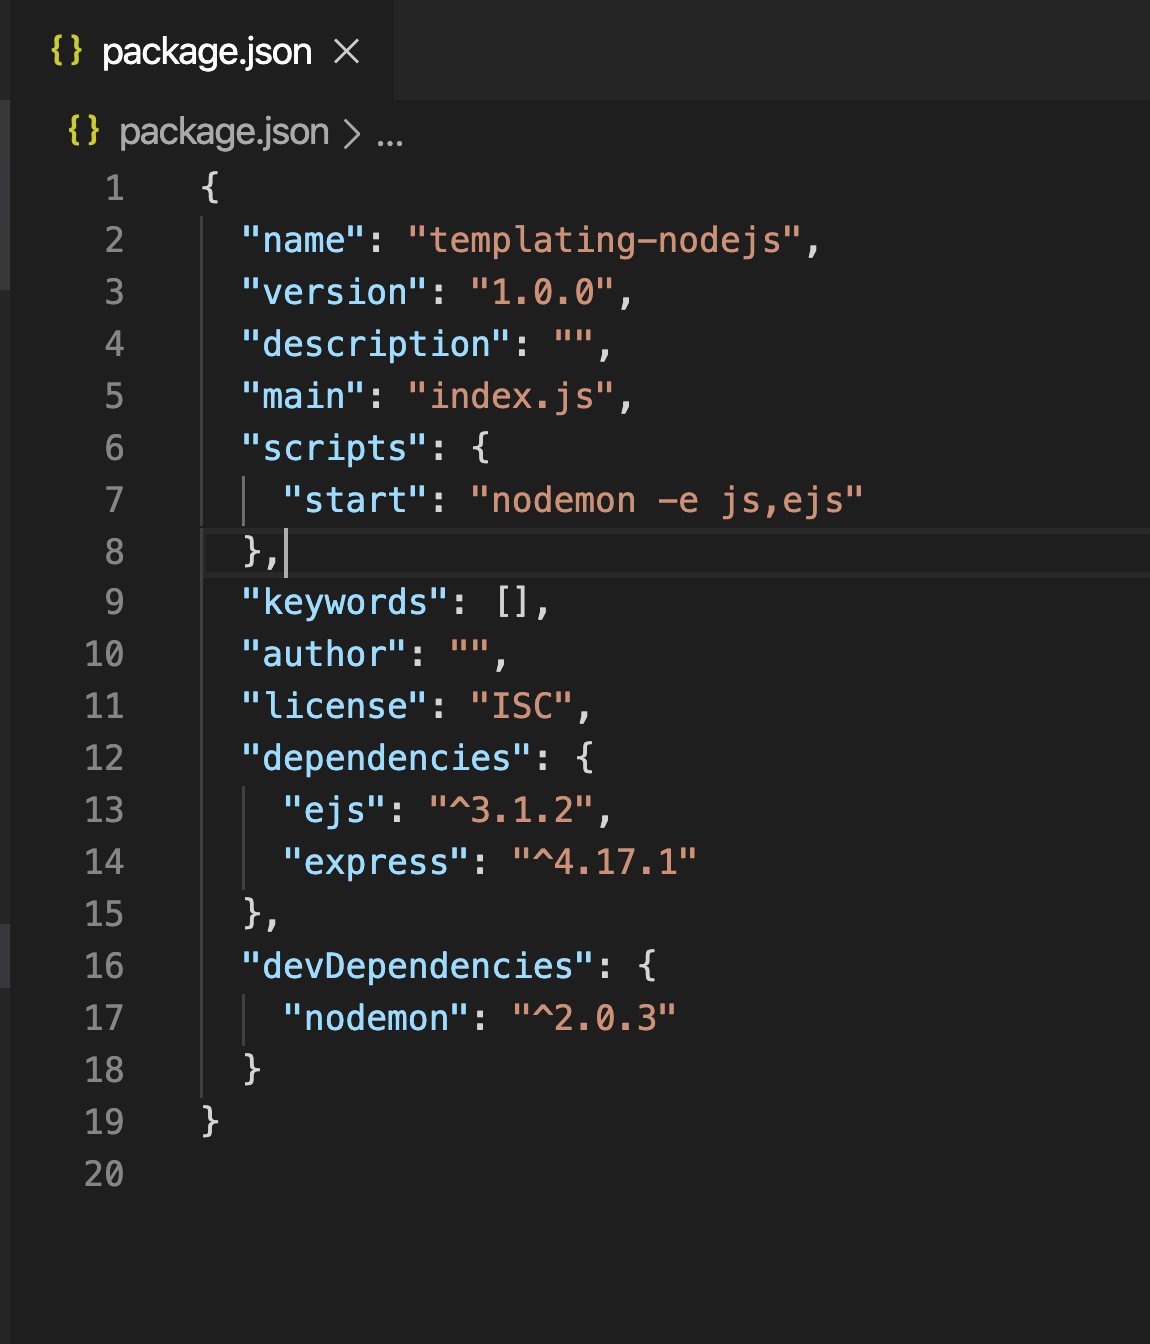
Create a new folder with the name templating-nodejs and navigate to that folder from terminal and initialize package.json by running following command:
npm init -y
Install express and ejs by running:
npm install express@4.17.1 ejs@3.1.2
Install nodemon as dev dependency by running:
npm install nodemon@2.0.3 --save-dev
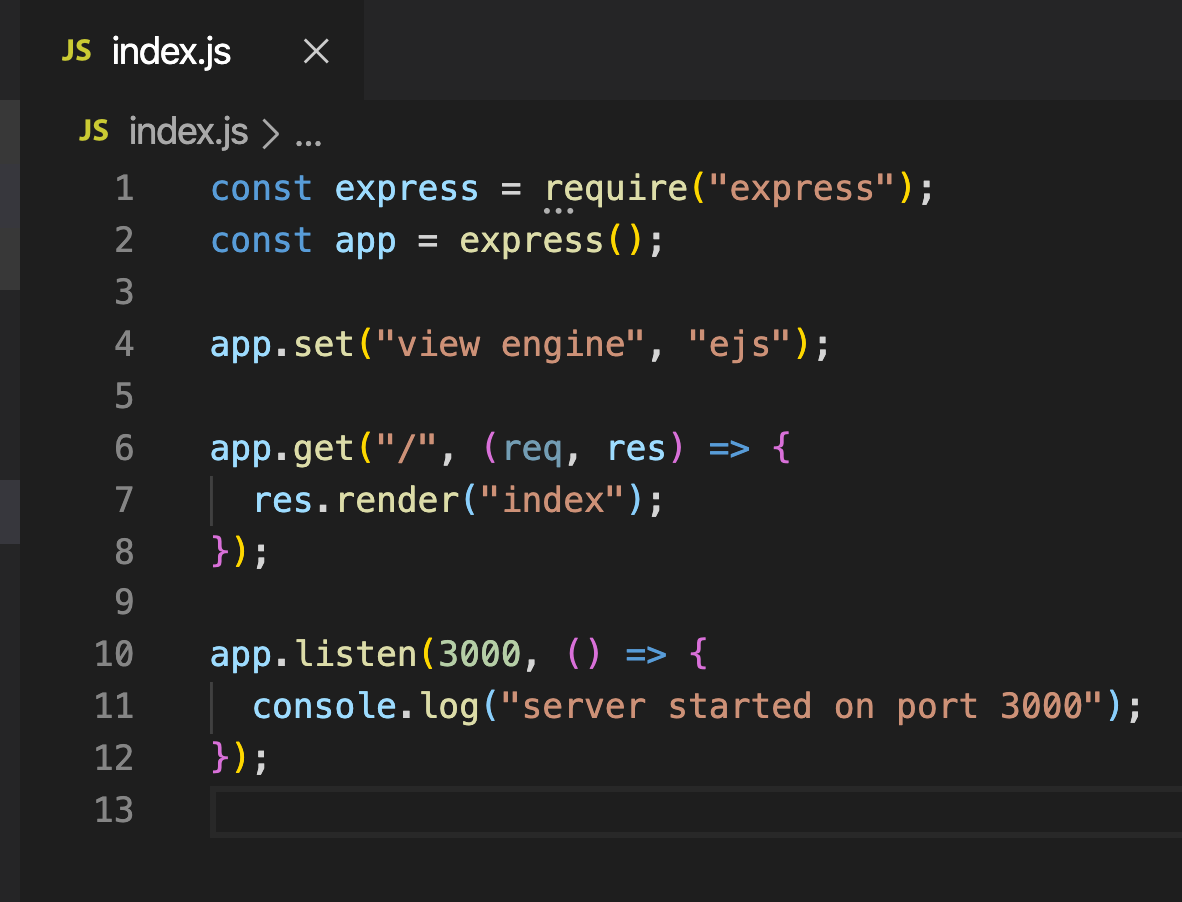
Create a new file index.js and add the following code inside it:
const express = require("express");
const app = express();
app.get("/", (req, res) => {
res.send("Welcome to EJS world!
"); }); app.listen(3000, () => { console.log("server started on port 3000"); }); Add a start script insidepackage.json
"start": "nodemon index.js"
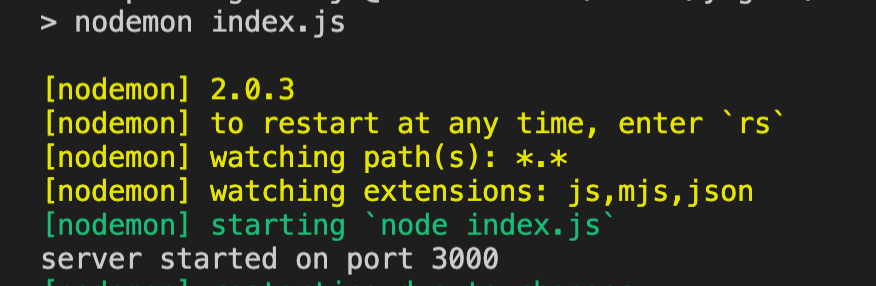
 Now start the express server by executing the
 npm start command from the command line:
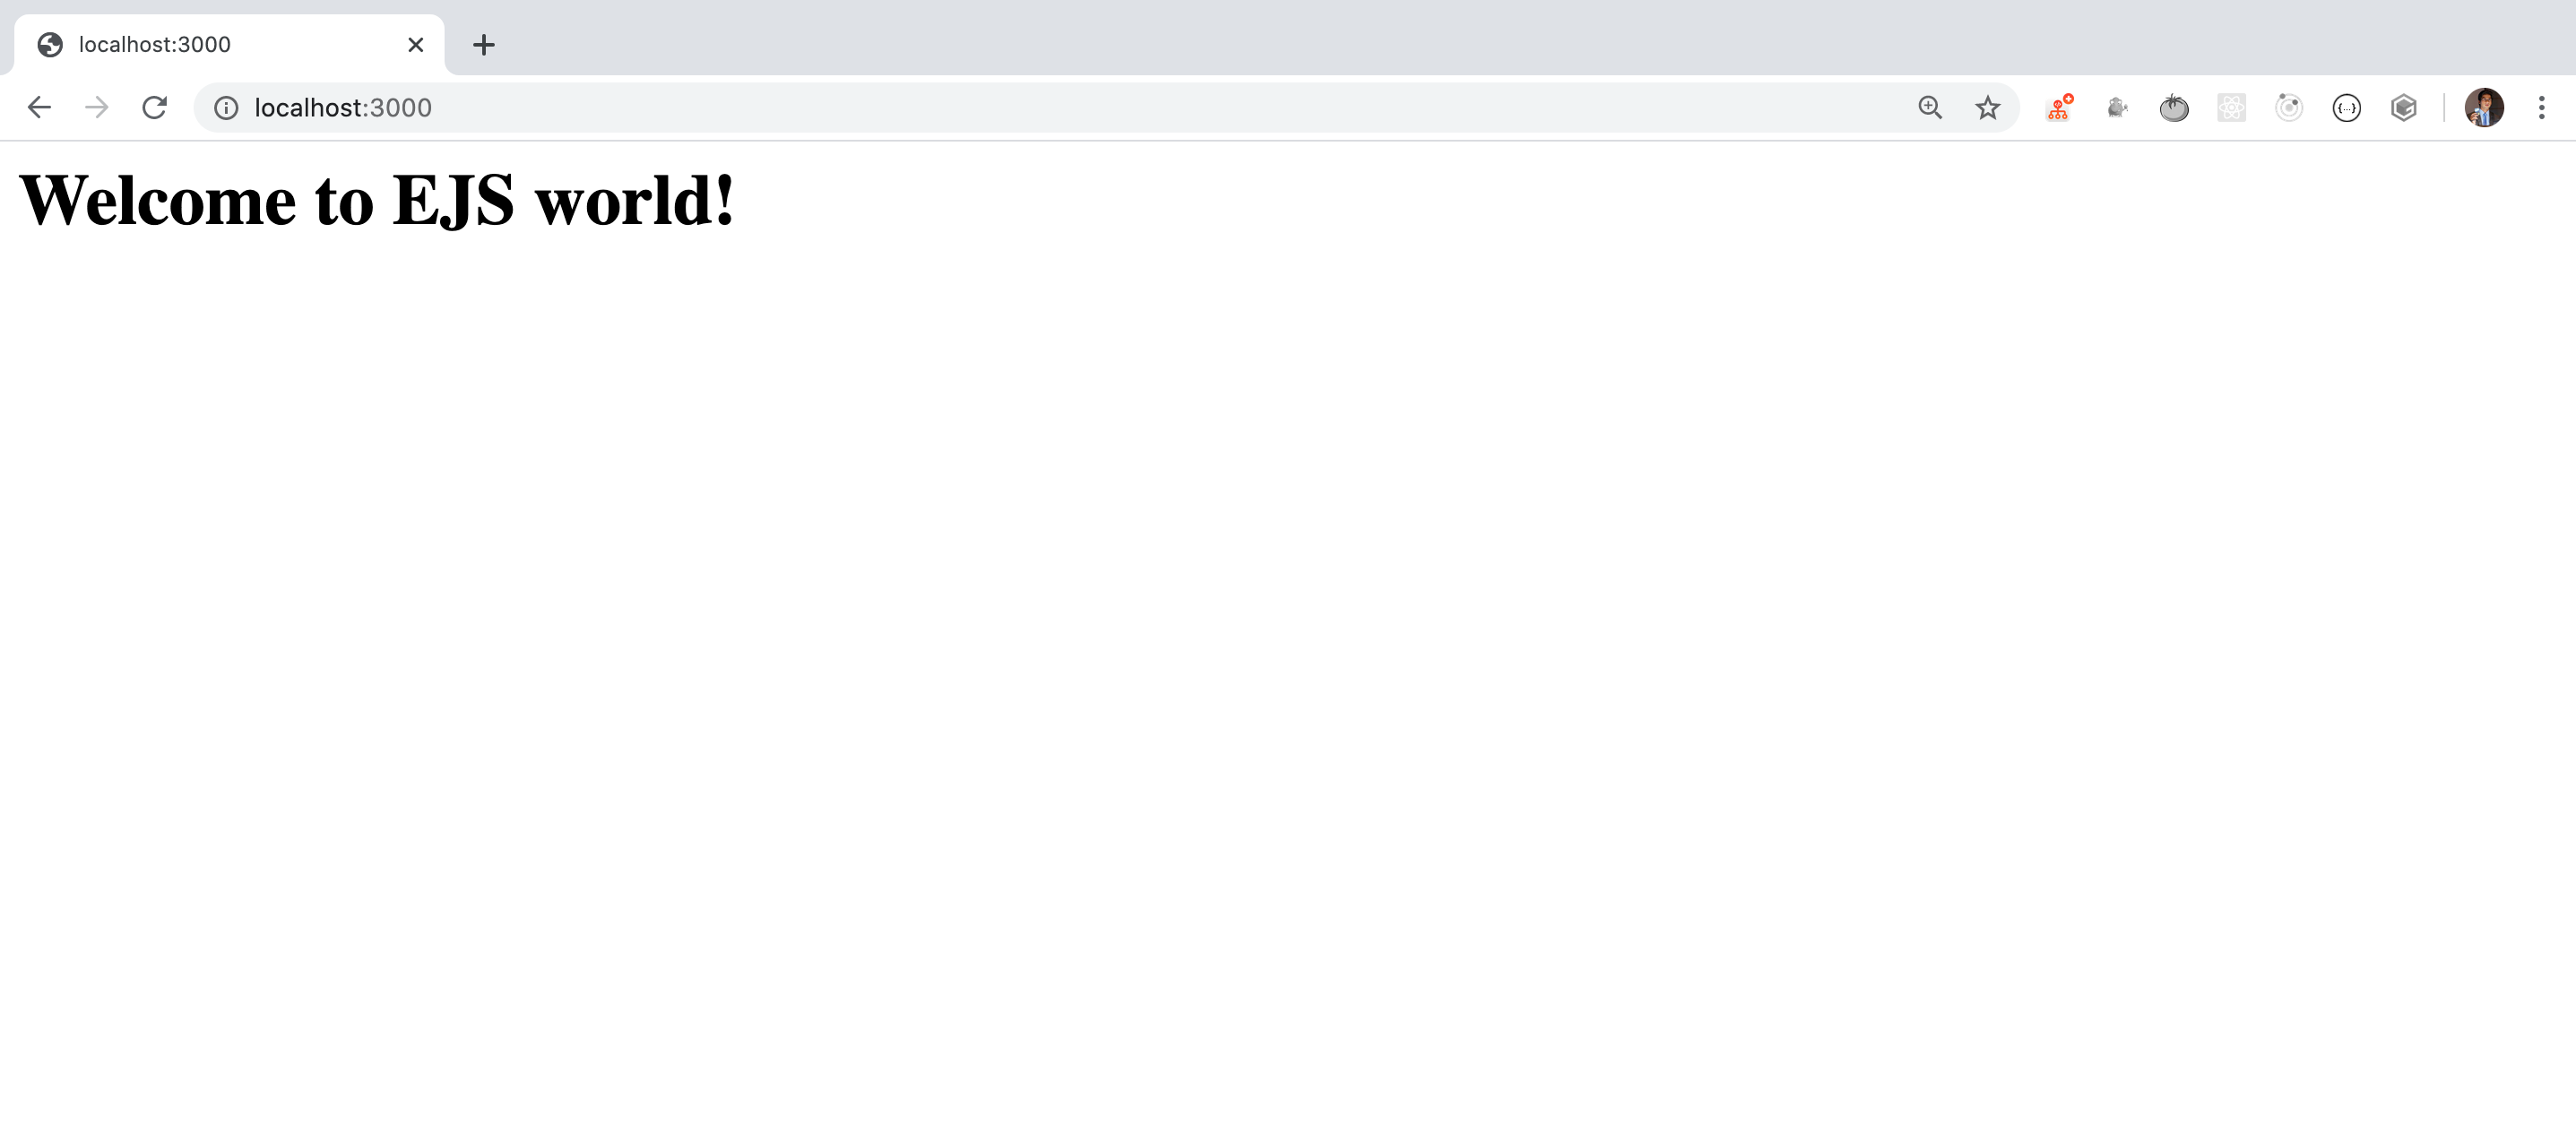
 You can access the application now by navigating to http://localhost:3000/
 Now let’s add the ejs functionality into the application.
Create a new
Now let’s add the ejs functionality into the application.
Create a new views folder and add an index.ejs file inside it with the following content:
<!DOCTYPE html>
<html lang="en">
<head>
<meta charset="UTF-8" />
<meta name="viewport" content="width=device-width, initial-scale=1" />
<title>Index page</title>
</head>
<body>
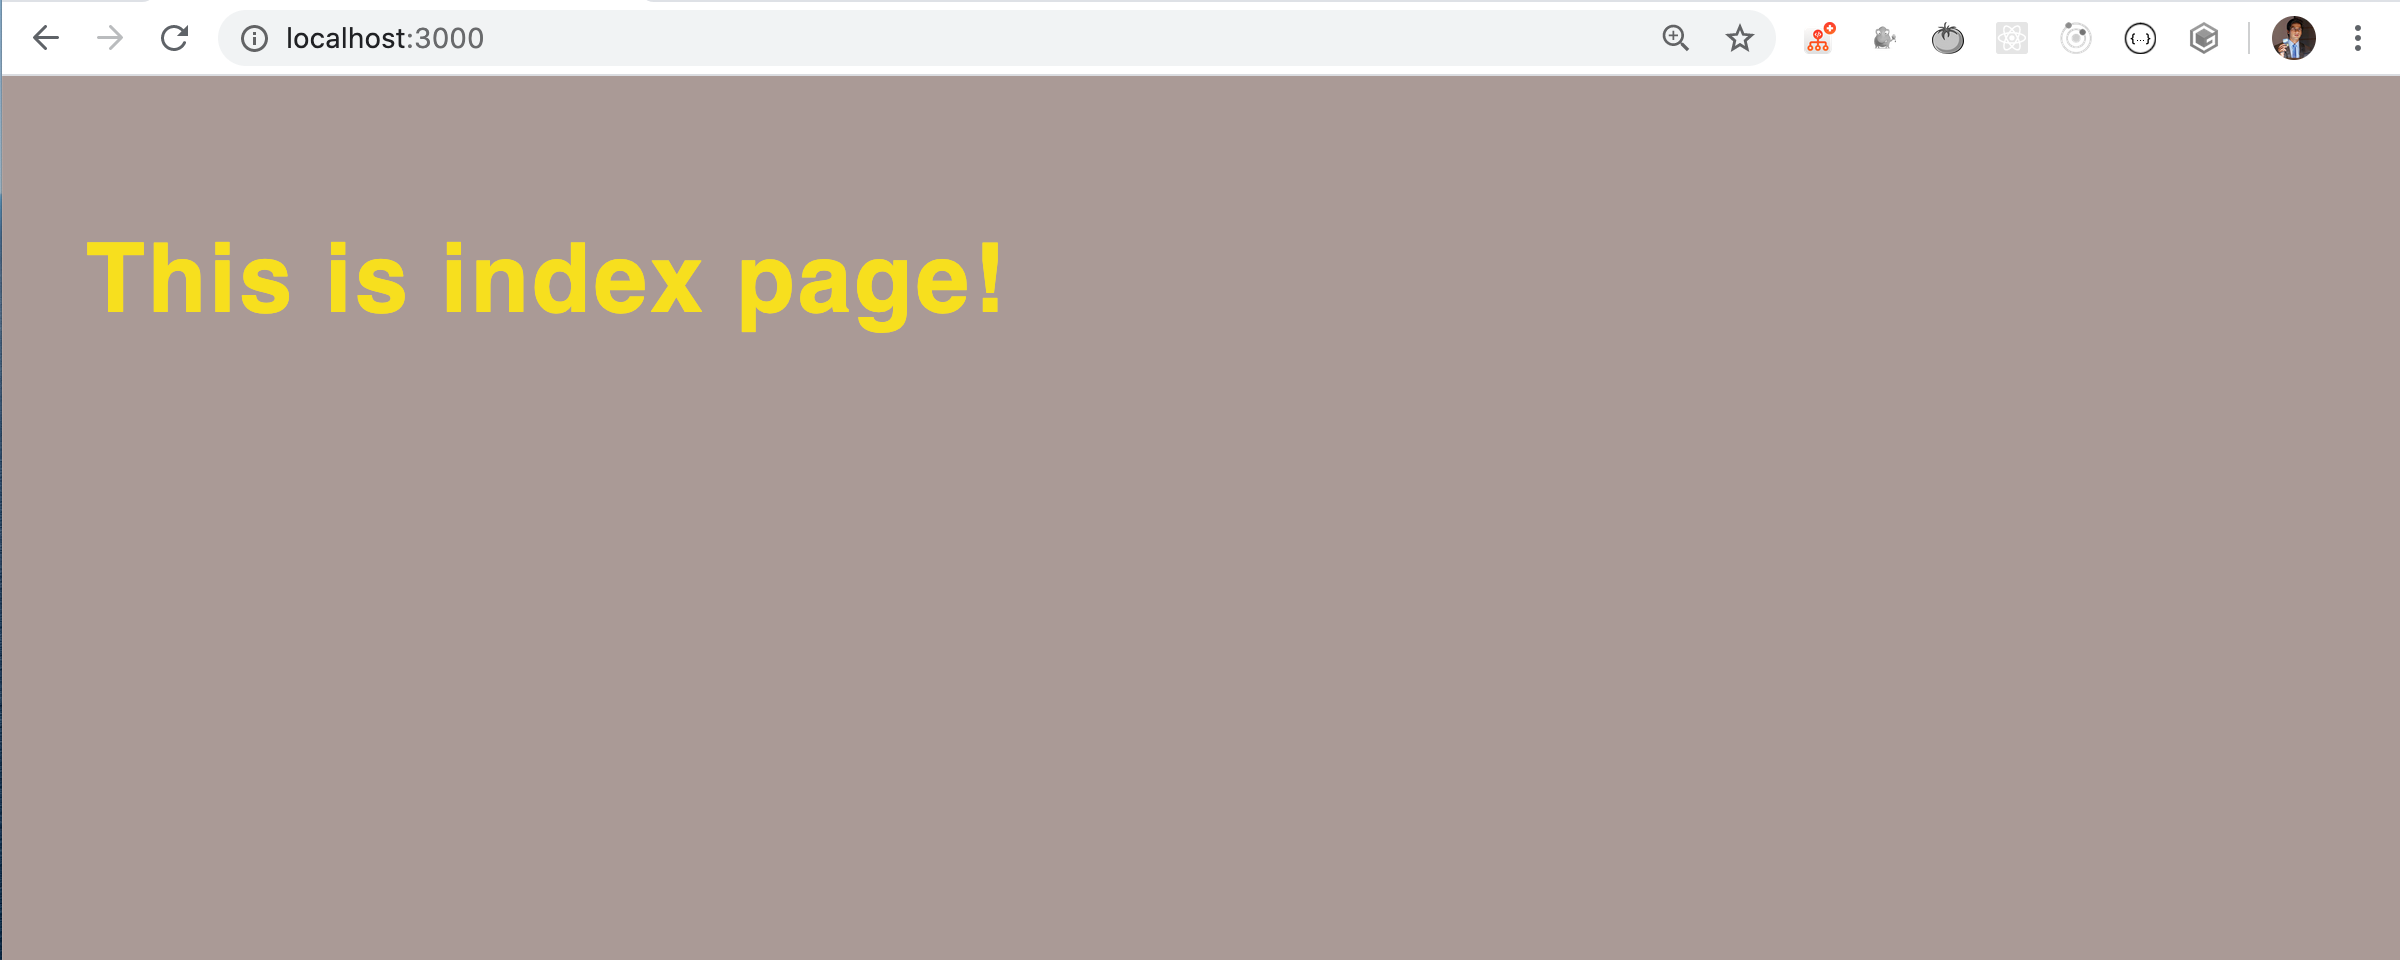
<h1>This is index page!</h1>
</body>
</html>
index.ejs
To render this file, we need to add some code in our express app.
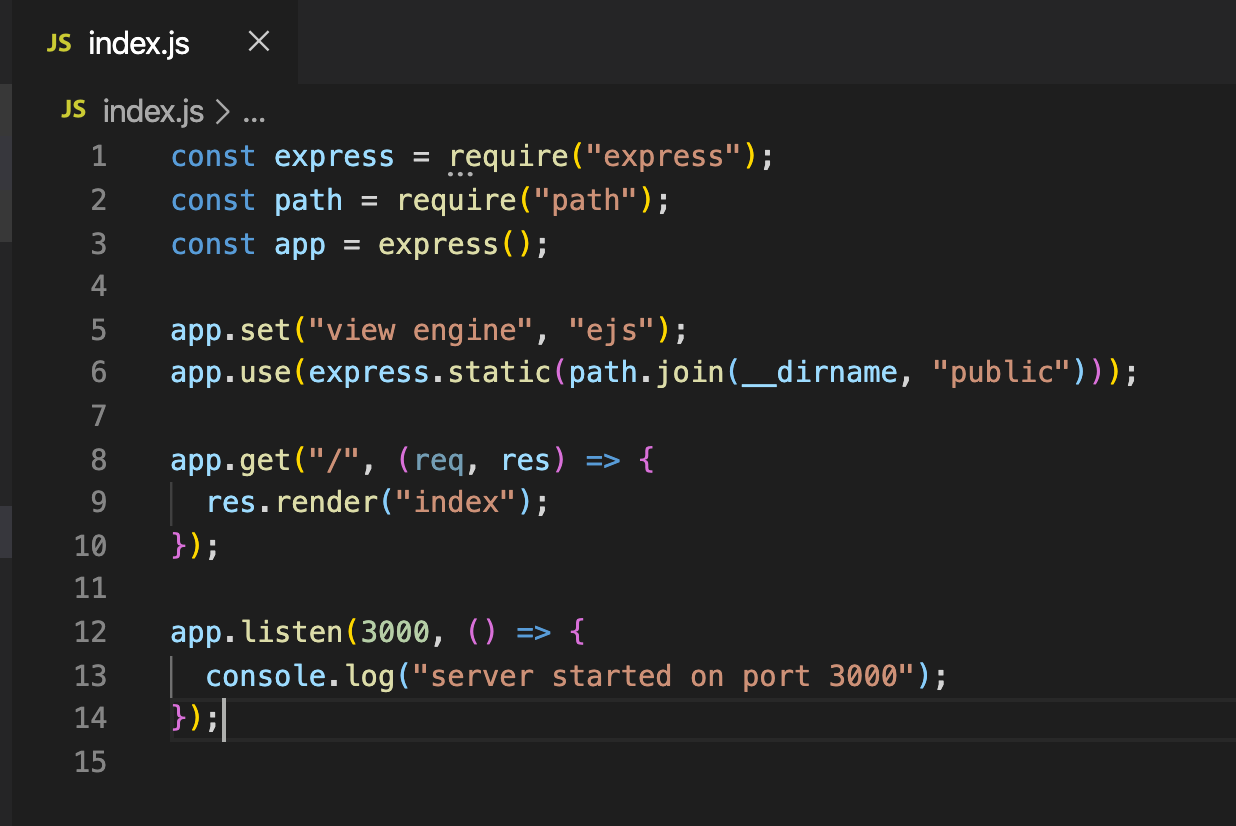
Specify the render engine by adding the following code in index.js file
app.set("view engine", "ejs");
And to render the index.ejs, we need to use the render method of the res object and pass the name of the ejs file without providing the .ejs extension.
Express will automatically search for the file with .ejs extension inside the default views directory
app.get("/", (req, res) => {res.render("index"); // index refers to index.ejs
});
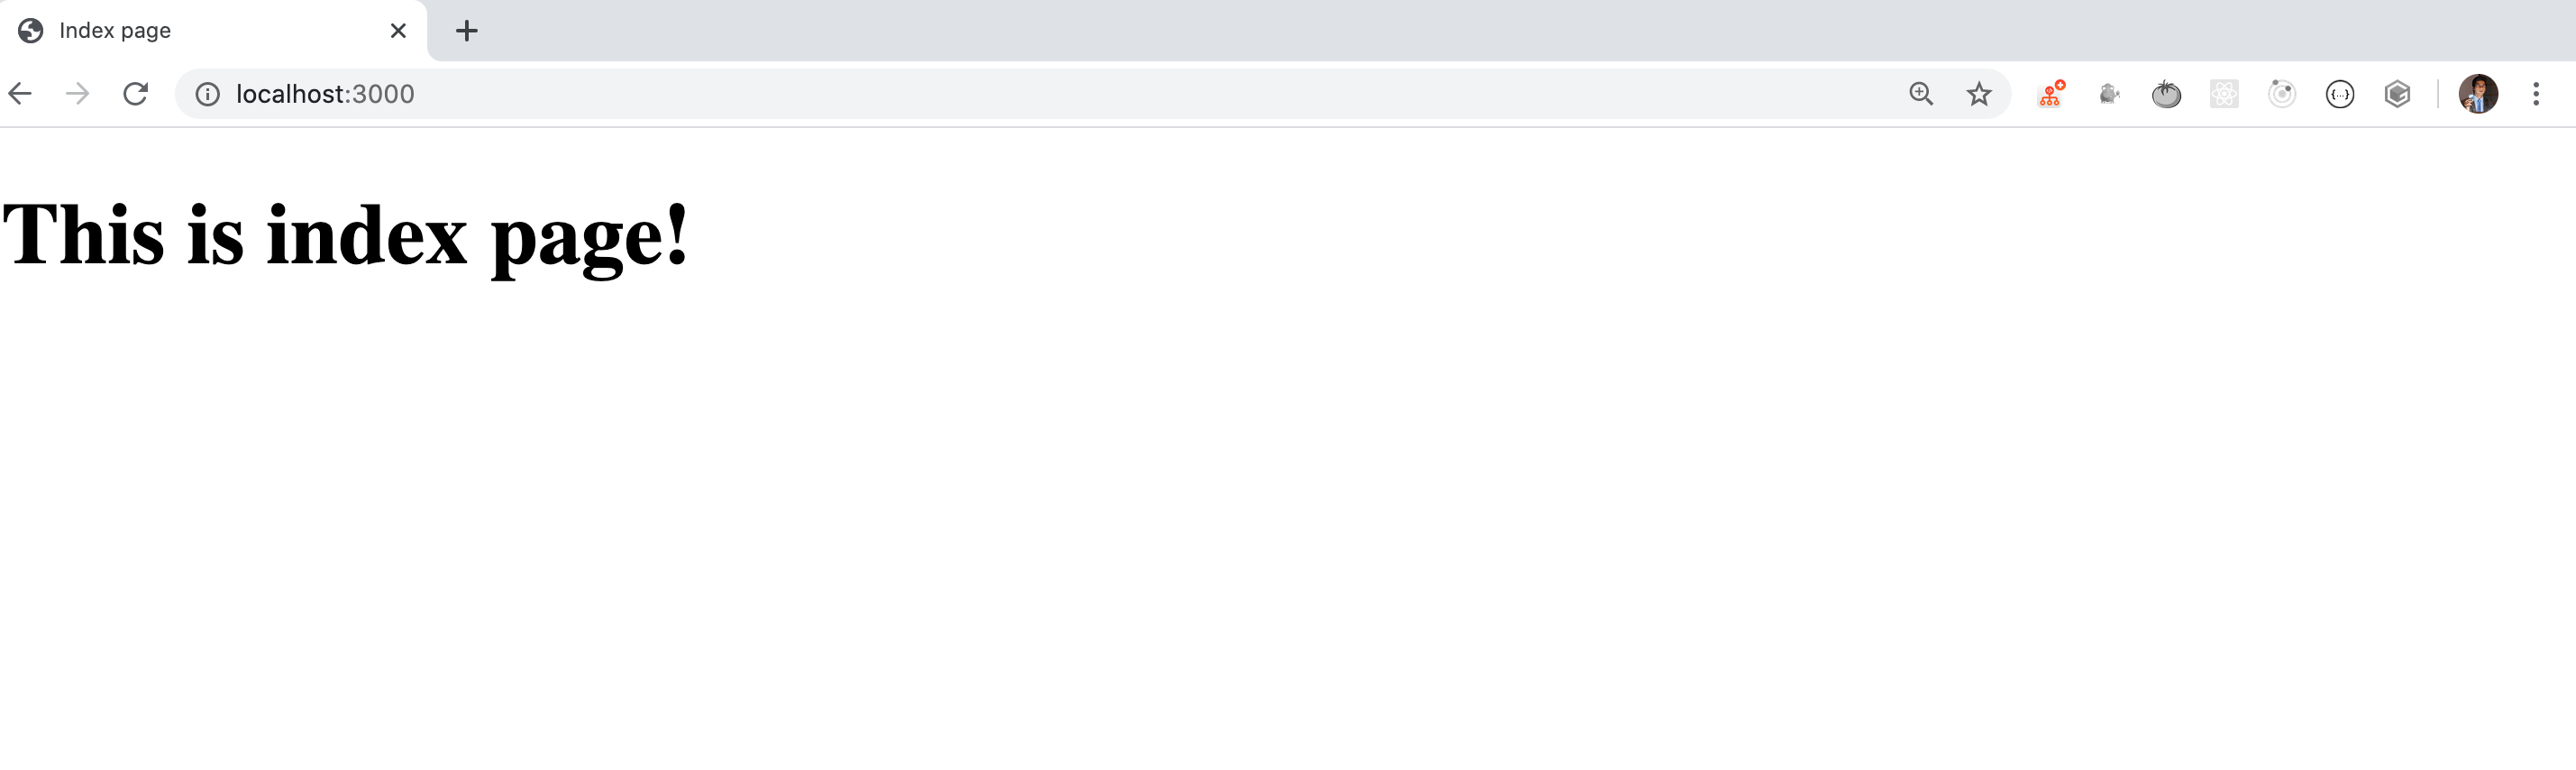
 So now if you navigate to http://localhost:3000/, you will see the content from
 index.ejs being rendered
Add CSS and JavaScript support
Now, we will see how to addcss and JavaScript to our template.
Create a new folder with the name public and add a css folder inside it
Add styles.css inside it with the following content
Your folder structure will look like this now
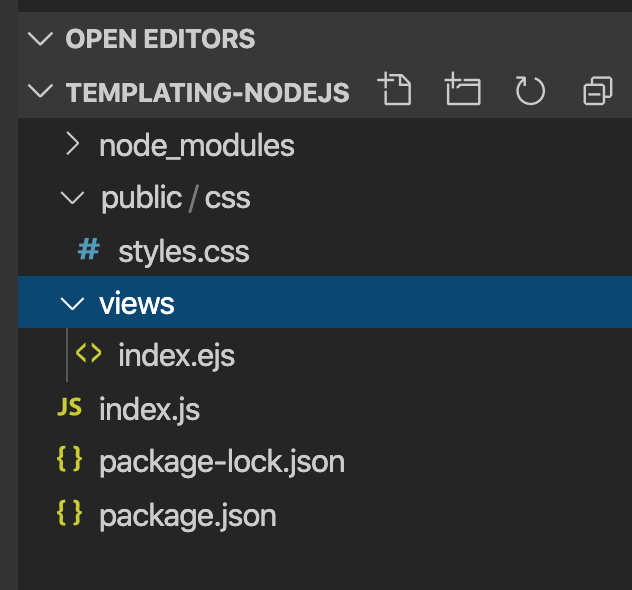 folder structure
Add a link to the
folder structure
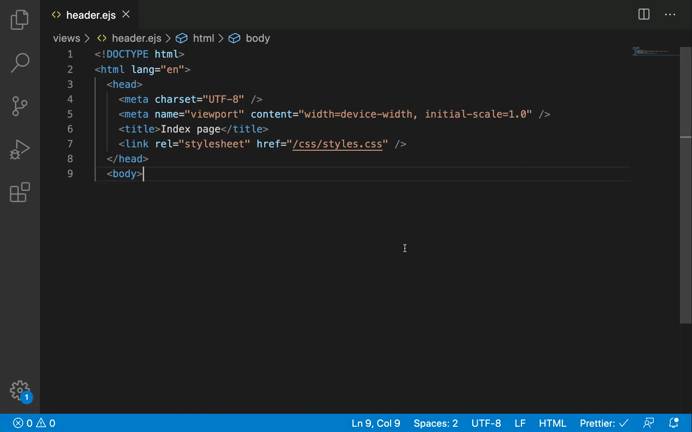
Add a link to the css file inside the views/index.ejs file
<link rel="stylesheet" href="/css/styles.css" />
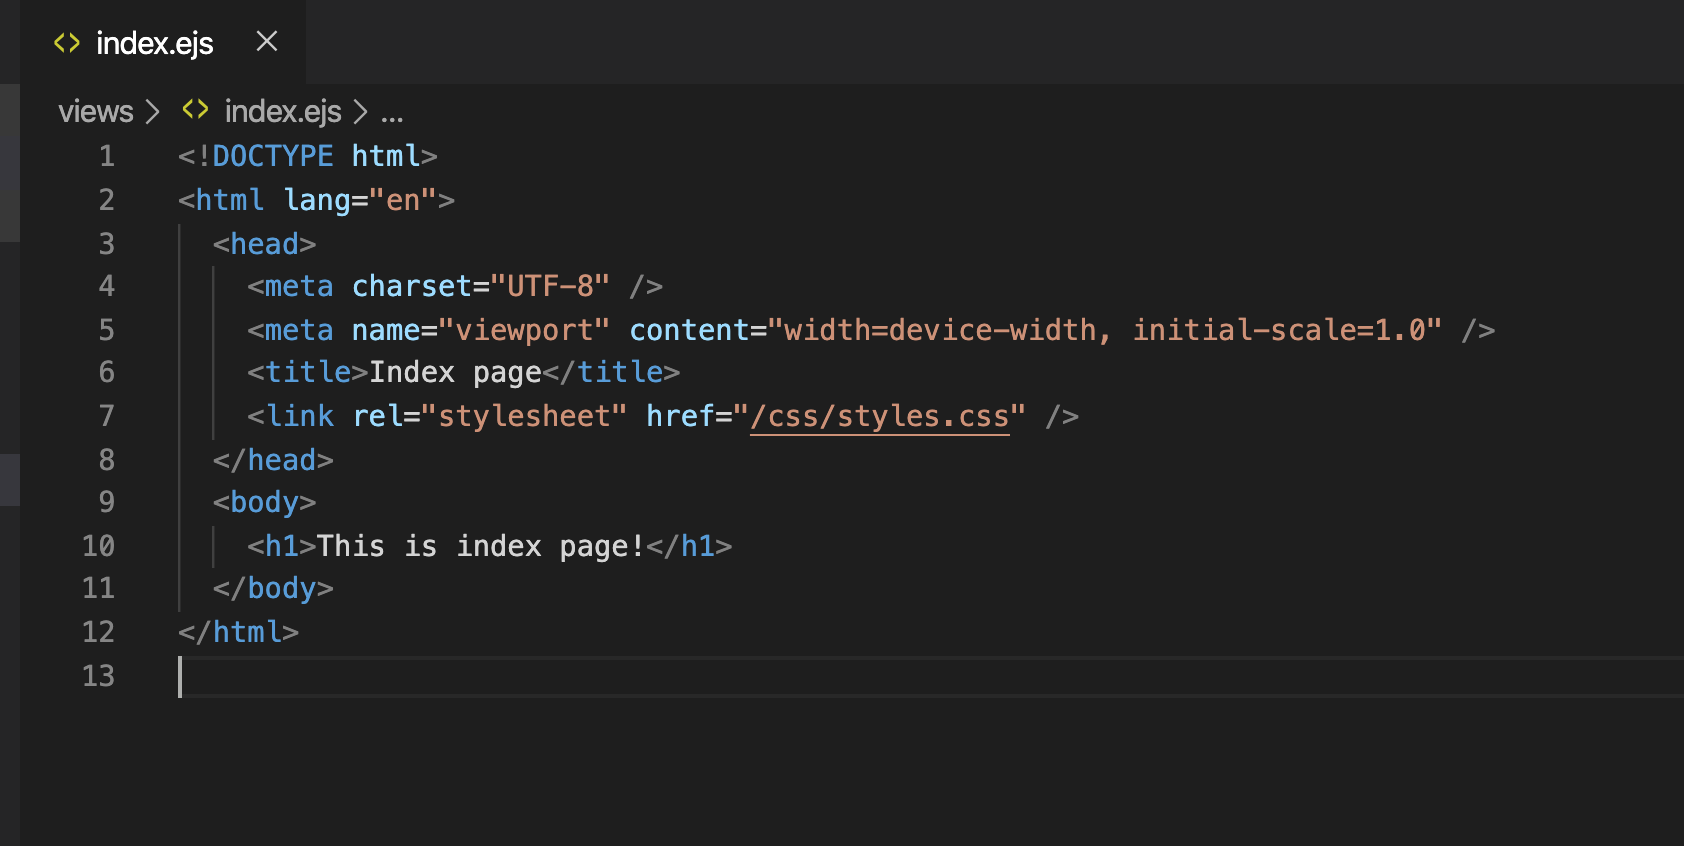 index.ejs
Also add following code in
index.ejs
Also add following code in index.js so we can load all the html,css and javacript files from the public folder.
app.use(express.static(path.join(__dirname, "public")));
 If you check the application now, you will see that the CSS is getting applied
 To add JavaScript files, create a new
 js folder inside public folder and add script.js inside it with a simple console.log statement
console.log("This is coming from script.js");
Include the script.js inside views/index.ejs file before the body end tag
 If you save the file, you will see that
 nodemon is not restarted automatically, so our changes are not reflected in the application.
This is because we specified to watch only index.js to nodemon in package.json.
To fix this, open package.json and change the start script from
"start": "nodemon index.js"
to
"start": "nodemon -e js,ejs"
 Here, we informed
 nodemon to reload the changes if there is any change in .js or .ejs file by passing an -e flag.
Now restart your nodemon script by re-running the npm start command from the terminal, and now if you save the views/index.ejs file, you will see that the nodemon restarts automatically on save.
Now, navigate to http://localhost:3000/ and refresh the page. You will see the log from script.js printed in console:

Better organize files
EJS also allows us to split a single file into separate files so we can have common header and footer which we can display on all pages. To include a file inside another file we use the following syntax <%- include('header.ejs') %> Here, the<% and minus sign is used to include the file.
Now we will split our index.js code into header.ejs, footer.ejs, and content.ejs and include them into our index.ejs
<h1>This is index page!</h1>
<!DOCTYPE html>
<html lang="en">
<head>
<meta charset="UTF-8" />
<meta name="viewport" content="width=device-width, initial-scale=1" />
<title>Index page</title>
<link rel="stylesheet" href="/css/styles.css" />
</head>
<body>
<script src="/js/script.js"></script>
</body>
</html>
footer.ejs
<%- include('header.ejs') %>
<%- include('content.ejs') %>
<%- include('footer.ejs') %>
index.ejs
Note that we don’t have closing body and html tag inside header.ejs because we have added that in footer.ejs
If you have some formatter installed in VS Code and it’s automatically adding the missing tag on save, you can remove that closing tag and save the file without formatting as shown below
Press Control + Shift + P or Command + Shift + P (Mac) to open command palette and type save and then select “File: Save without Formatting” option
 Disable auto formatting
Now we will create a simple login application using ejs templating where we will display the success message on login and failure message for login failure.
Open
Disable auto formatting
Now we will create a simple login application using ejs templating where we will display the success message on login and failure message for login failure.
Open content.ejs and add following code inside it
content.ejs
Here, we are allowing users to enter name and password and once user submits the form, we are calling the /login route added in index.js as specified in the form tag
<form action="/login" method="post">
Create a new file success.ejs inside views folder and add following content
success.ejs
Here, we are displaying the logged in user username and success message.
To display any value in the ejs file, we use the variable name between <%= and %>
<%= is used to display any value by converting it to a string.
Create a new file failure.ejs inside views folder and add the following content
failure.ejs
Updated styles.css
To parse the input from the form, install the body-parser npm package by running following command from the terminal
npm install body-parser@1.19.0
and to inform the express to parse the input as JSON object import that in index.js
const bodyParser = require("body-parser");const app = express();app.use(bodyParser.urlencoded({ extended: false }));
Now, the form data will be available in req.body object inside the /login route
app.post("/login", (req, res) => {
const { name, password } = req.body;
if (name === "admin" && password === "admin") {
res.render("success", {
username: name,
});
} else {
res.render("failure");
}
});
login route inside index.js
Here, we check the login data. If name and password matches, then we display the success.ejb template, otherwise display the failure.ejb.
Note that to pass data to the success.ejb template, we are passing as an object in second argument to the render method so it will be available inside that template.
const express = require("express");
const bodyParser = require("body-parser");
const path = require("path");
const app = express();
app.use(bodyParser.urlencoded({ extended: false }));
app.set("view engine", "ejs");
app.use(express.static(path.join(__dirname, "public")));
app.get("/", (req, res) => {
res.render("index");
});
app.post("/login", (req, res) => {
const { name, password } = req.body;
if (name === "admin" && password === "admin") {
res.render("success", {
username: name,
});
} else {
res.render("failure");
}
});
app.listen(3000, () => {
console.log("server started on port 3000");
});
Updated index.js
Now your application will work as shown below
 Login Application
Building Github repository listing App using EJS template
Now we will build an app that shows the repositories of any user passed as a query string in the URL. Installaxios from the command line by running
npm install axios@0.19.2
Inside index.js add the following route
app.get("/repos", async (req, res) => {
const username = req.query.username || "myogeshchavan97";
try {
const result = await axios.get(
`https://api.github.com/users/${username}/repos`
);
const repos = result.data.map((repo) => ({
name: repo.name,
url: repo.html_url,
description: repo.description,
}));
res.render("repos", {
repos
});
} catch (error) {
console.log(error);
res.status(400).send("Error while getting list of repositories");
}
});
Here, we are getting the username from query string so the URL will be like this http://localhost:3000/repos?username=your_github_username
If no username is specified, it will take the default value provided in the route.
Then we are taking the repository data and sending it to the repos.ejb template, we are looping through it and displaying the result.
const express = require("express");
const axios = require("axios");
const bodyParser = require("body-parser");
const path = require("path");
const app = express();
app.use(bodyParser.urlencoded({ extended: false }));
app.set("view engine", "ejs");
app.use(express.static(path.join(__dirname, "public")));
app.get("/", (req, res) => {
res.render("index");
});
app.post("/login", (req, res) => {
const { name, password } = req.body;
if (name === "admin" && password === "admin") {
res.render("success", {
username: name,
});
} else {
res.render("failure");
}
});
app.get("/repos", async (req, res) => {
const username = req.query.username || "myogeshchavan97";
try {
const result = await axios.get(
`https://api.github.com/users/${username}/repos`
);
const repos = result.data.map((repo) => ({
name: repo.name,
url: repo.html_url,
description: repo.description,
}));
res.render("repos", {
repos
});
} catch (error) {
console.log(error);
res.status(400).send("Error while getting list of repositories");
}
});
app.listen(3000, () => {
console.log("server started on port 3000");
});
updated index.js
Create a new repos.ejs file inside the views folder with following code
<%- include('header.ejs') %>
<ul class="repos">
<% repos.forEach(function(repo) { %>
<li class="repo">
<h2><a href="<%=repo.url%>" class="repo-title"><%=repo.name%></a></h2>
<p class="repo-description"><%=repo.description%></p>
</li>
<% })%>
</ul>
<%- include('footer.ejs') %>
repos.ejs
As you can see here, we have written JavaScript code in between <% and %>. In this case we have added a JavaScript forEach loop to iterate through the repos object passed from index.js.
Now you can see the repositories of provided GitHub user:
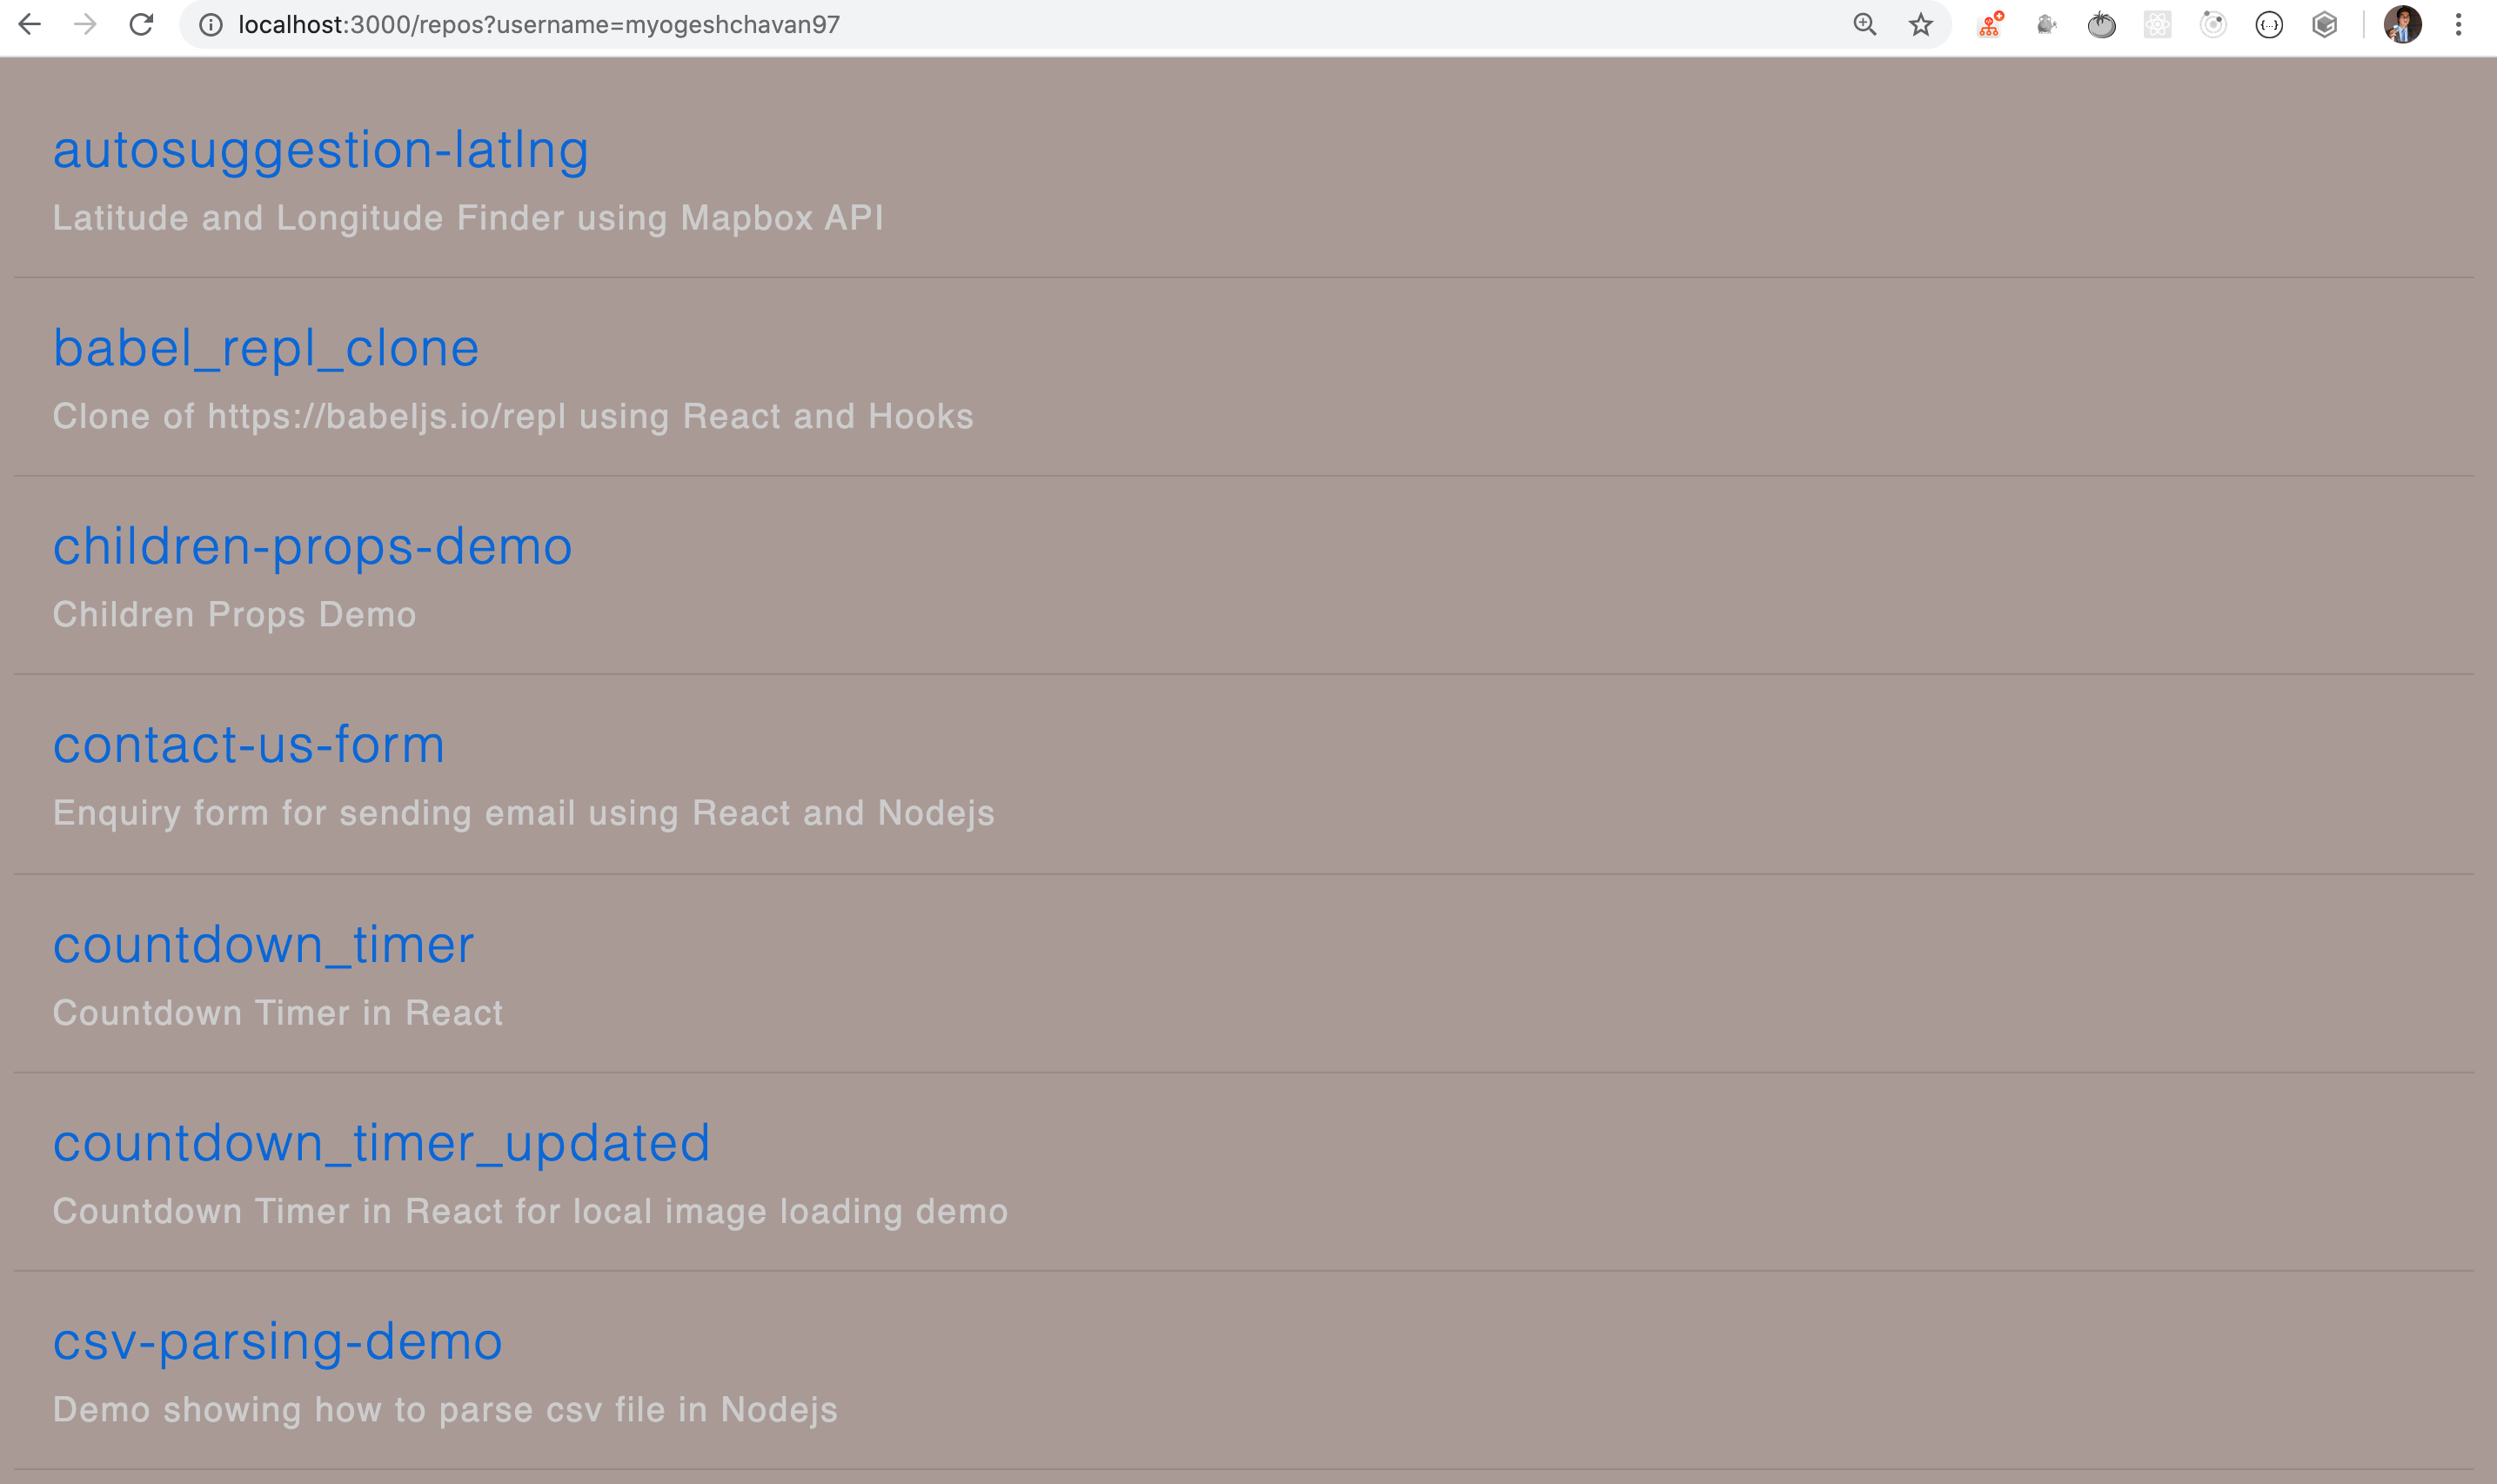 Repository List Application
Customize default template directory
By default, EJS will look for.ejs files inside the views folder in your project and if it does not find it, it will throw an error. We can also provide our custom path for views directory.
So if we want to store a views folder inside the templates folder, we can specify the path by setting it to express app.
const path = require("path");const viewsDirPath = path.join(__dirname, "templates", "views");app.set("views", viewsDirPath);
You can find the complete source code for this application HERE and live demo HERE